概要
コードをダウンロードし手順通りに作業しましょう。
目的
基本のpcレイアウトを学習する。
目標

手順
①CSSの読み込み
HTMLにCSSを読み込みましょう。
reset.cssとstyle.cssがあります。
<link rel=”stylesheet” href=”reset.css”><!– ① reset.css の読み込み –>
<link rel=”stylesheet” href=”style.css”><!– ① style.css の読み込み –>
<link rel=”stylesheet” href=”style.css”><!– ① style.css の読み込み –>
上記のコードの追加によってHTMLファイルとCSSファイルが連携します。
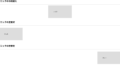
②必要なdivの追加とclass名の記述
横並びレイアウトを実現するためにdivを追加する必要があります。
以下を記述しましょう。
<div class=”right”></div>
<div class=”left”></div>
<div class=”left”></div>
右エリア、左エリアを囲みましょう。


③ヘッダーを整える
.header {
background: #ddffed;
display: flex;
justify-content: space-between;
align-items: center;
}
.nav {
display: flex;
gap: 30px;
align-items: center;
}
![]()
④メインのエリアを左右横並びにする
.main {
display: flex;
flex-direction: row-reverse;
max-width: 960px;
margin: 0 auto;
}
.left {
background: #f6ceed;
width: 30%;
padding: 15px;
}
.right {
background: #f6f1ce;
width: 70%;
padding: 15px;
}

⑤フッター/その他を整える
.footer {
background: #ddffed;
text-align: center;
}
background: #ddffed;
text-align: center;
}
p {
margin-bottom: 40px;
}
margin-bottom: 40px;
}
使用ソフト
VisualStudioCode
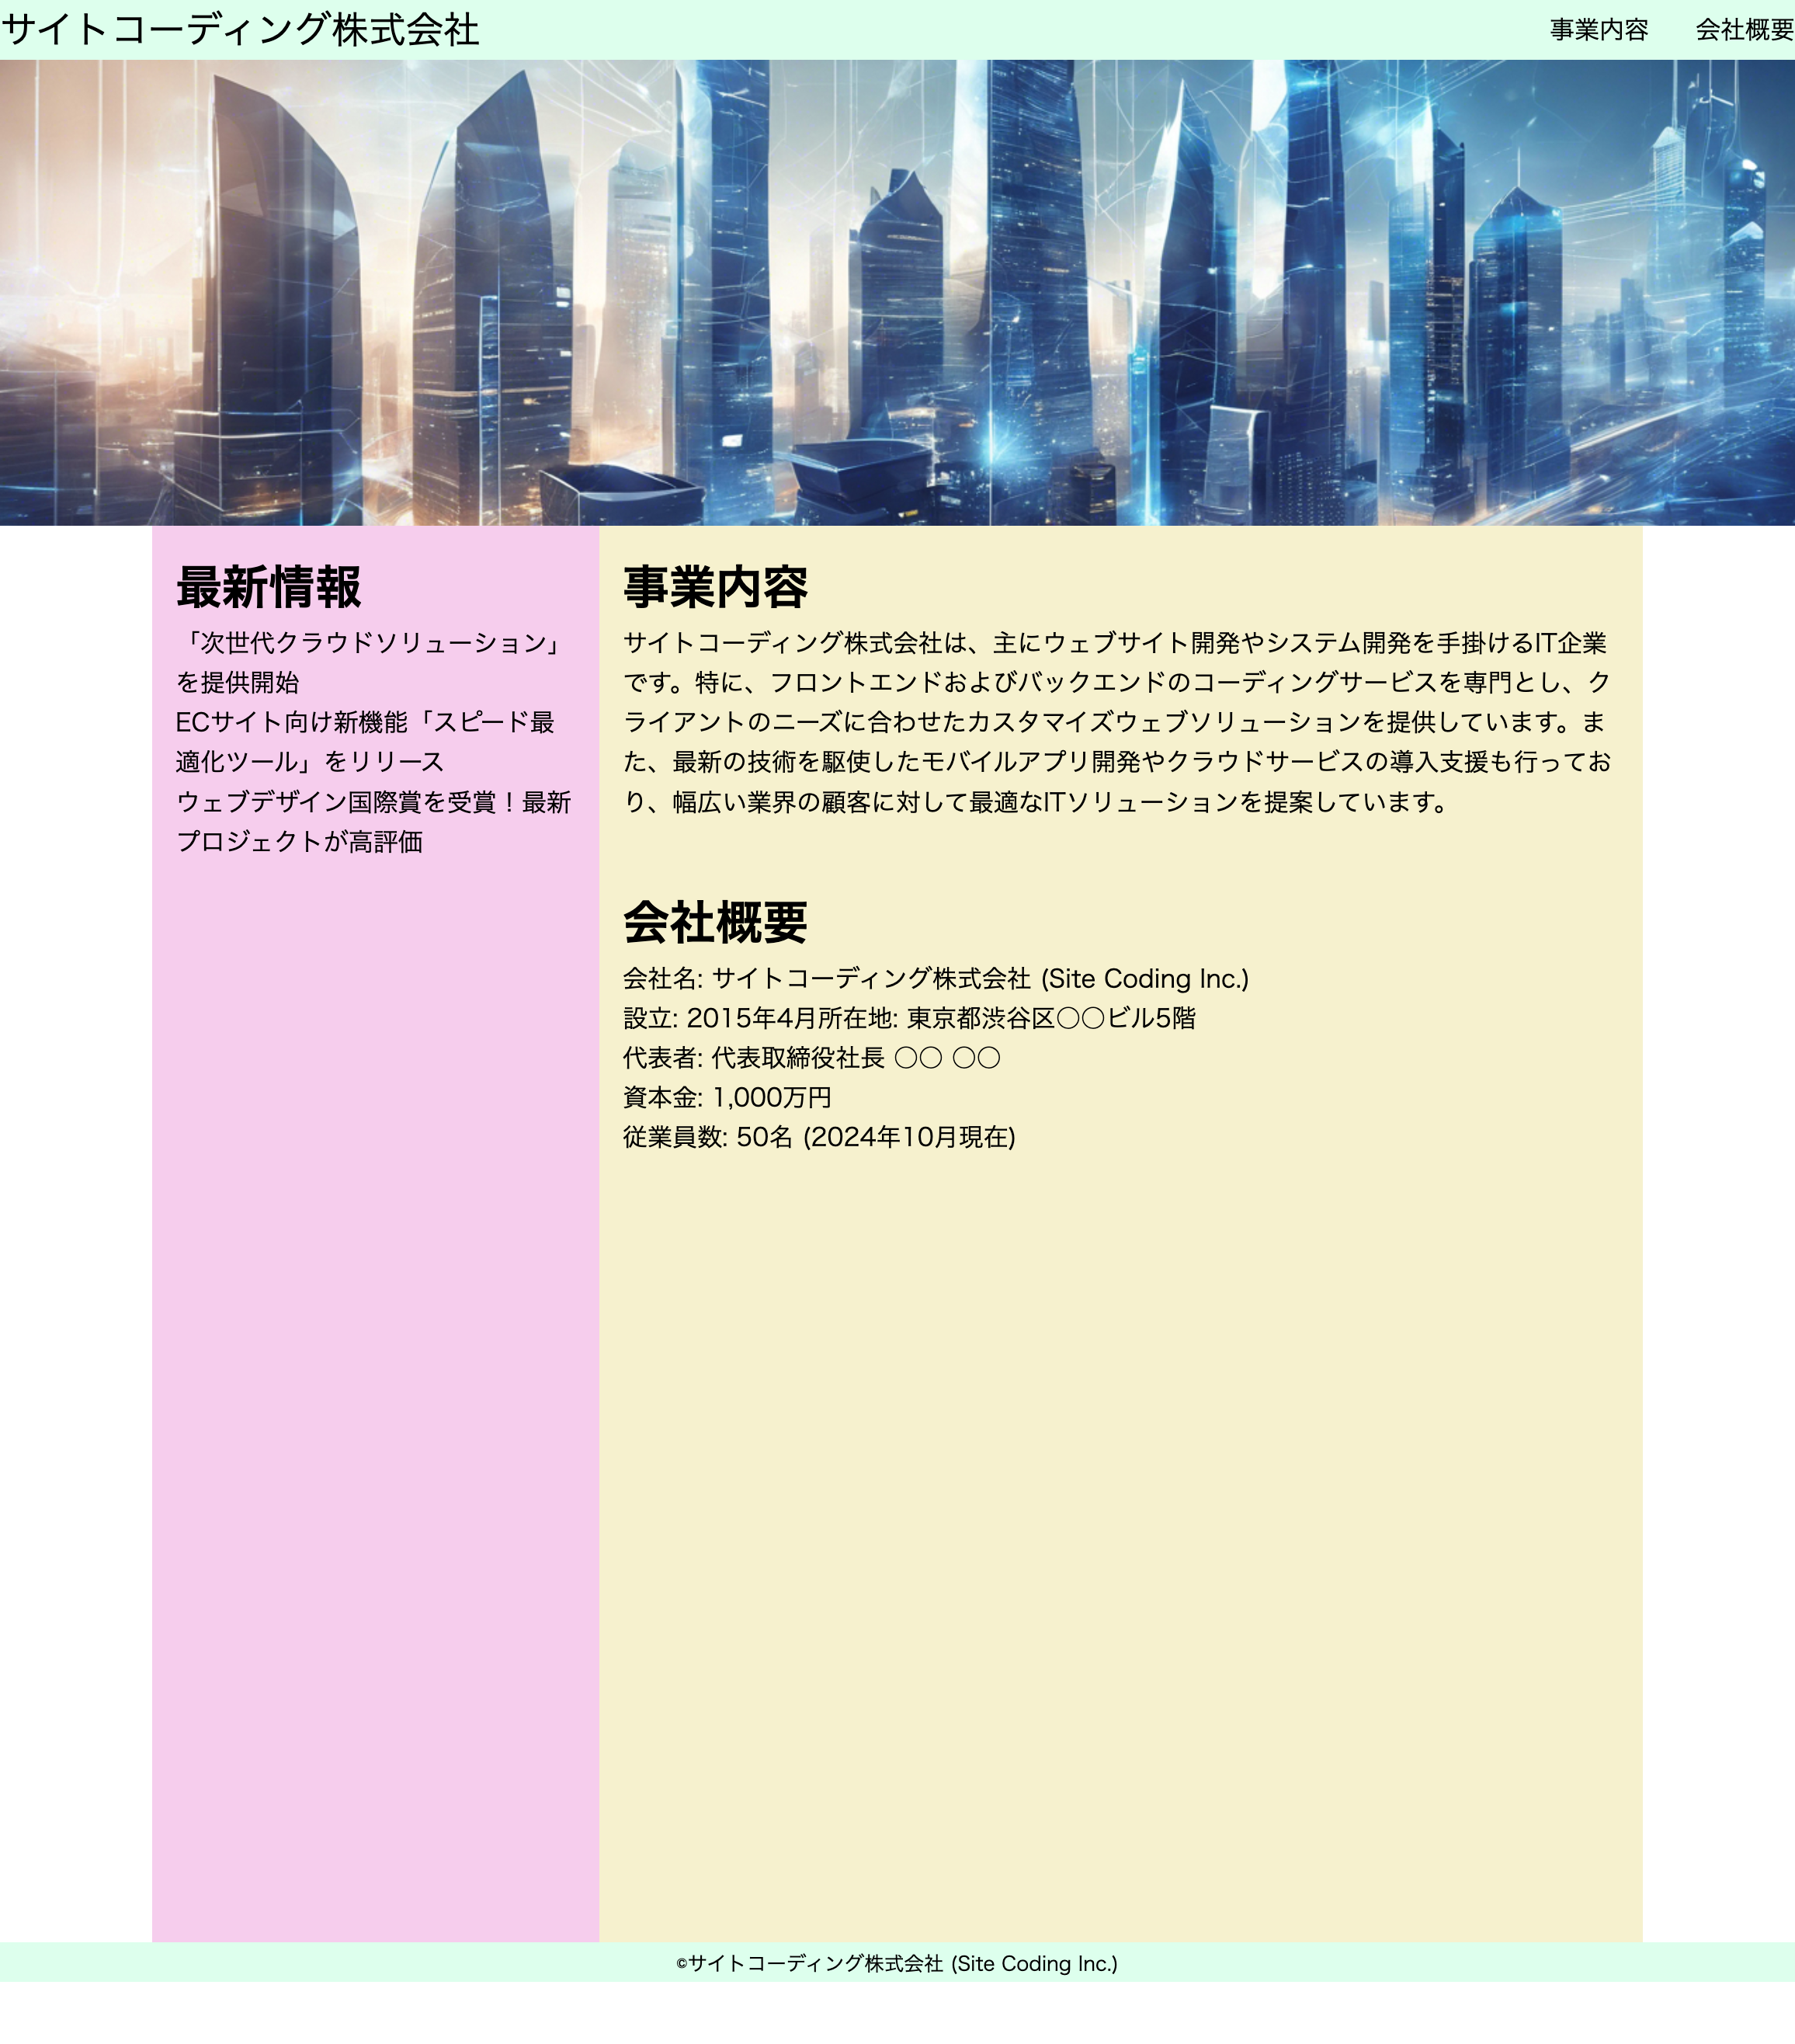
完成データ